Apr 8, 2026
How to Optimize Your CAD Design for FDM 3D Printing
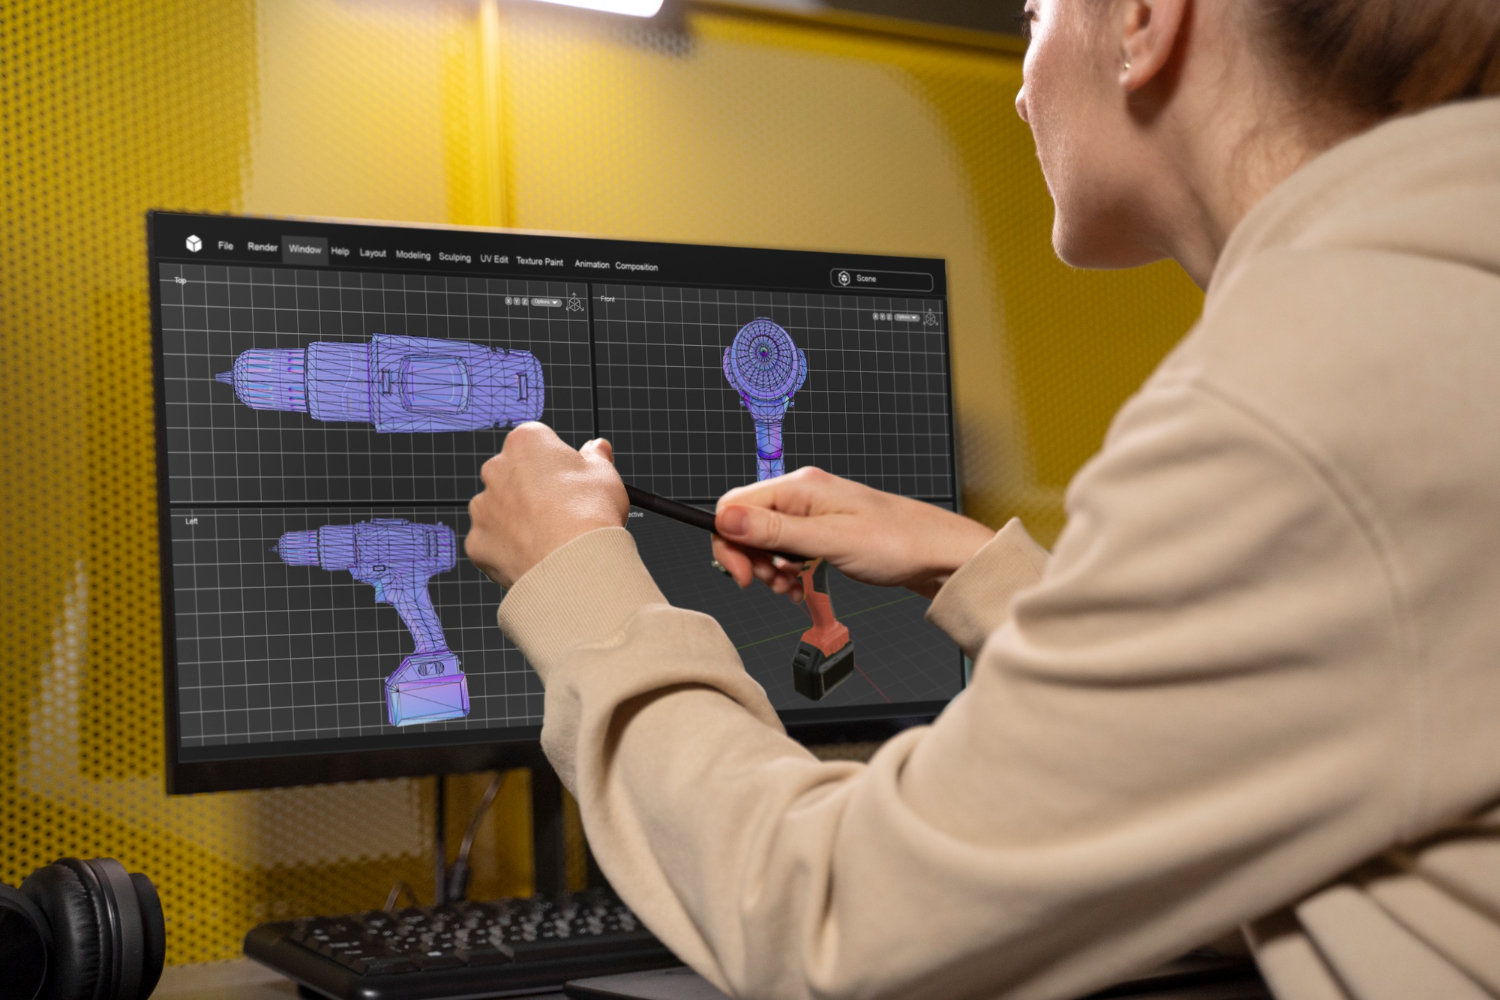
Successfully printing parts on FDM 3D printers requires more than just sending a CAD file to the printer. Strategic design decisions made during the modeling phase directly impact print success, material efficiency, and final part quality. Understanding FDM-specific design considerations enables engineers and designers to create models that print reliably while minimizing waste and post-processing time.
Understanding FDM Design Constraints and Advantages
FDM printing builds parts layer-by-layer using extruded thermoplastic filament. This process creates inherent design considerations: layer adhesion affects part strength differently in different directions, overhangs require support material, bridge spans have limits, and orientation dramatically impacts mechanical properties. However, FDM also offers unique advantages: low material cost, high speed for functional prototypes, wide material selection, and minimal post-processing for many applications.
Wall Thickness Optimization
Proper wall thickness is critical for both print success and functional performance. General guidelines:
- Minimum Wall Thickness: 1.2-1.5mm for most FDM materials prevents weak or failed prints where infill shows through
- Maximum Wall Thickness: 5-6mm avoids excessive print time and material waste; use infill density instead of thick solid walls
- Thin Walls (under 1mm): Avoid unless absolutely necessary; they often fail during printing or become brittle
- Thick Walls (over 8mm): Use 15-20% infill density instead of solid walls to maintain strength while reducing weight and cost
Consistent wall thickness throughout the part prevents stress concentration and warping. Gradual transitions between different thickness sections reduce the likelihood of print failures.
Orientation for Strength and Reduced Supports
Part orientation during printing fundamentally affects mechanical properties and support requirements. Strength Considerations: Parts are strongest in the X-Y plane (layer-wise direction) and weakest along the Z-axis (layer-to-layer bonding). Orient parts so primary stress loads align with layer bonding direction. For load-bearing features, use grain orientation (layers) aligned with the direction of maximum stress.
Reducing Support Material: Minimize overhangs by rotating parts so overhanging features angle less than 45 degrees from horizontal. Overhangs below 45 degrees print without support material. This single optimization can reduce support material by 30-50% and dramatically speeds up printing.
For complex parts, experiment with multiple orientations in your slicing software. Use software preview to visualize where supports will be generated and adjust orientation accordingly.
Design for Minimal Support Material
Support material is the enemy of efficiency in FDM printing. Design strategies to minimize supports:
- Orientate strategically: As mentioned, angles under 45 degrees don't require supports
- Use printed supports: Newer FDM printers support easily removable support structures; design parts to take advantage of this capability
- Add escape holes: Include small holes (3-4mm diameter) that allow support material to be easily pushed out or flushed away
- Create access channels: For internal supports, design internal passages allowing access for removal
- Split complex parts: Rather than printing a single part with extensive supports, design it as interlocking segments that assemble afterward
Some designs inherently require supports. In these cases, optimize support attachment by using thin point contacts rather than large surface areas.
Chamfers Versus Fillets
Sharp corners and edges present design trade-offs in FDM printing: Chamfers (beveled 45-degree edges) require less infill, print faster, and are easier to remove from build plates. However, they create stress concentration in functional parts. Fillets (rounded curves) distribute stress more evenly, improving mechanical performance and durability. They require more infill volume but provide superior strength in load-bearing applications.
Design recommendation: Use fillets (minimum 1-2mm radius) on all internal corners of functional or load-bearing parts. Use chamfers on non-critical edges and corners where strength is not a concern, and on edges that will be handled or removed from the build plate.
Hole Compensation and Thread Design
FDM printing produces slightly inaccurate holes due to material shrinkage and print-head drag. Implement compensations:
- Hole Compensation: Undersized holes 0.2-0.5mm smaller than nominal size often print closer to specification. Test with your specific printer and material.
- Tapped Holes: Rather than printing threads directly (they print poorly and strip easily), print undersized holes and tap threads using conventional tools. This produces superior thread strength and durability.
- Self-Tapping Holes: For rapid prototypes, print holes slightly undersized, then use self-tapping inserts or machine screws to create functional threaded connections.
- Internal Threads: Avoid entirely when possible. If necessary, print with oversized pitch and expect reduced performance.
Designing for Assembly
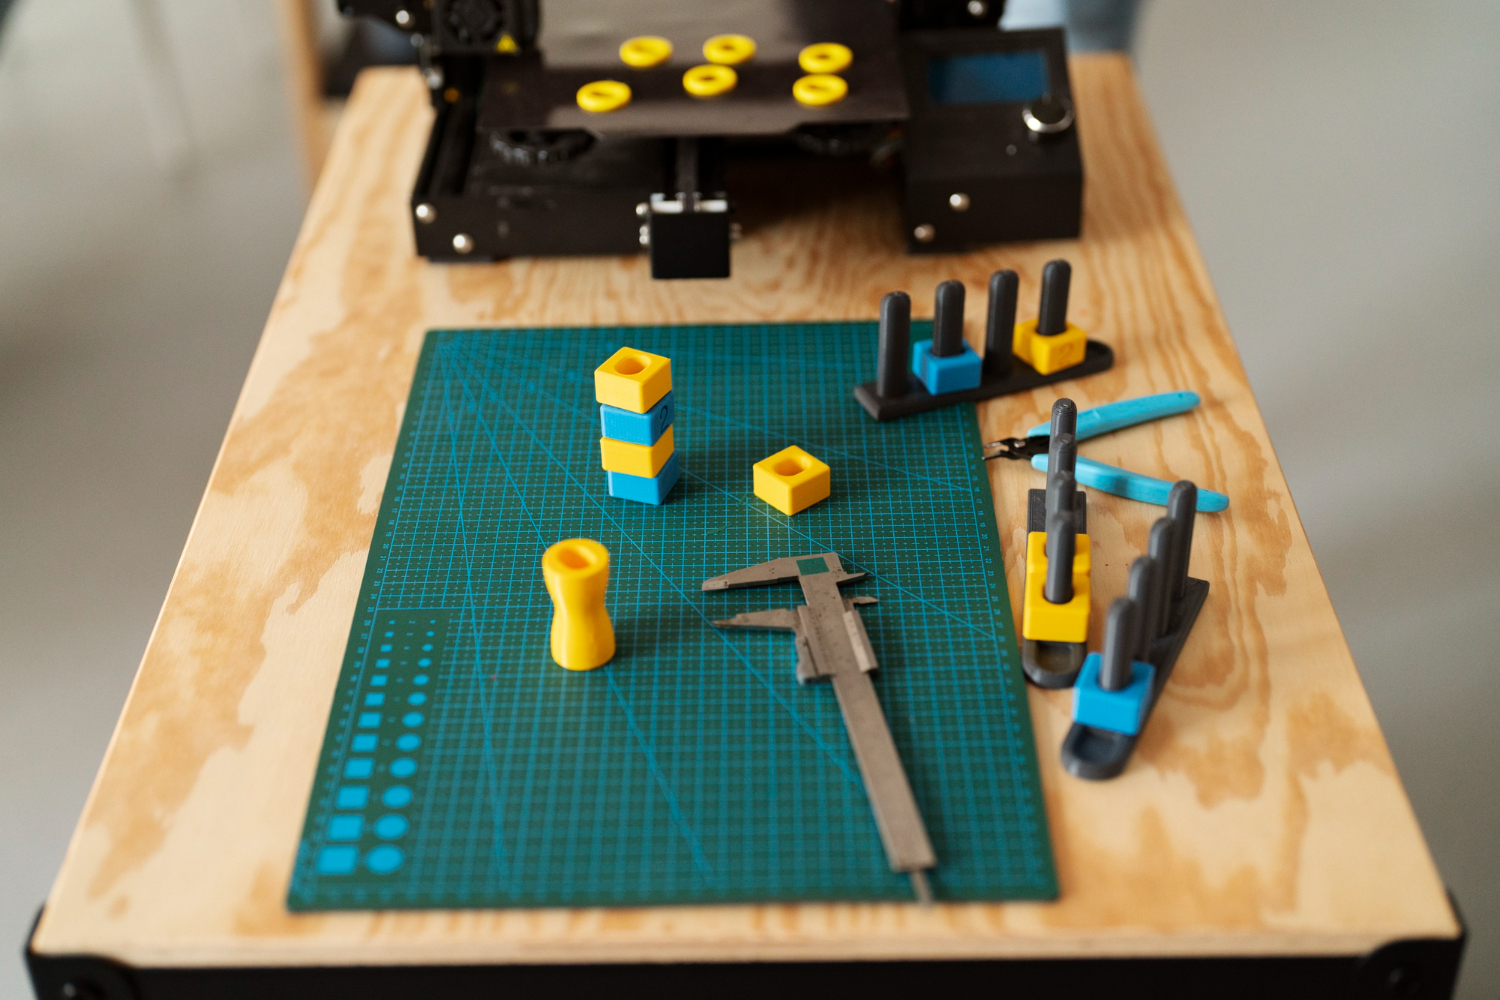
Multi-part assemblies printed as separate components offer advantages over single-piece printing: reduced support material, faster individual print times, ability to use different materials for different parts, and easier post-processing. Assembly design considerations:
- Snap Fits: Design flexible tabs that lock into grooves. Snap fit pins should be 1.5-2mm in diameter with 0.5-1mm flexibility for reliable engagement
- Interlocking Features: Design parts with complementary shapes that guide proper assembly and alignment
- Pin and Socket Design: Use cylindrical pins in round sockets for alignment; tolerance all pin-hole pairs 0.2-0.3mm larger than pin diameter for reliable assembly
- Screwed Assembly: Design for M3 or M4 self-tapping screws (most common for FDM parts) with escape holes and pilot holes where needed
Infill Density Optimization
Infill density directly affects print time, material consumption, and mechanical properties:
- 10-15% Infill: Fast prototyping, lightweight parts, non-functional models
- 20-30% Infill: Functional parts with moderate strength requirements, good balance of speed and performance
- 40-50% Infill: Load-bearing parts, parts requiring impact resistance
- 100% Infill: Rarely necessary; use only when maximum strength is critical and weight is not a concern
Infill pattern (grid, honeycomb, gyroid) also affects part properties. Gyroid patterns provide excellent strength-to-weight ratio for functional parts.
Avoiding Common Design Pitfalls
Common FDM design mistakes include: thin walls under 1mm (print failure), perpendicular flat surfaces (warping and layer adhesion issues), enclosed cavities without drain holes (excess material and voids), small details below 0.5mm (not reproducible), and overly complex internal structures (difficult to print and post-process).
Designing for Post-Processing
Many FDM parts benefit from post-processing: surface finishing (sanding, vapor smoothing), painting or coating, assembly with hardware, or functional testing. Design with post-processing in mind:
- Include draft angles (2-3 degrees) on surfaces that will be sanded or machined
- Design access points for sanding or finishing operations
- Leave provision for paint or coating without affecting fit or function
- Plan for quality inspection and testing access
Testing and Iteration
Even experienced designers benefit from print testing and iteration. Print small samples to verify:
- Hole sizes and tolerances with your specific printer
- Snap fit engagement force and reliability
- Wall thickness adequacy for your application
- Support removal requirements and difficulty
- Post-processing time and finishing difficulty
Save successful design elements and material specifications as templates for future projects.
Tools and Resources
Design optimization is supported by FDM-specific tools: slicing software preview features (visualize supports and infill), thickness analysis tools (identify thin walls), and design for manufacturability (DFM) plugins that flag problematic features. Many CAD platforms offer FDM-specific design guidelines.
For comprehensive guidance on comparing printing technologies, explore our FDM vs SLS vs SLA comparison guide to understand when FDM is the optimal choice versus other technologies.
Ready to optimize your designs for FDM printing? Contact our engineering team to discuss design review, optimize your CAD models, and ensure your next print succeeds on the first attempt.

Apr 8, 2026
Design during the day, print overnight, test the next morning. A practical workflow for running rapid prototyping iterations at one per day.
Apr 8, 2026
A structured checklist for testing 3D printed prototypes: visual inspection, fit testing, functional validation, and user testing. Get the most out of every iteration.
.webp)


Copyright © 3D On Demand