Apr 8, 2026
The fastest product teams in the world share one habit: they compress the time between idea and physical feedback to the absolute minimum. Instead of spending weeks refining a design in CAD before committing to a single prototype, they print early, print often, and let physical testing guide every decision.
With an on-demand 3D printing service offering express next-day production, this approach is now accessible to any product team — not just those with in-house printers.
The Core Concept: One Iteration Per Day
The 24-hour design sprint follows a simple rhythm.
Morning (9:00–10:00): Test and evaluate. Your latest prototype arrived overnight or first thing in the morning. Spend the first hour hands-on with it. Run through your testing checklist. Measure critical dimensions. Test fit with mating components. Note everything that works and everything that doesn't.
Midday (10:00–14:00): Analyze and redesign. Based on your testing notes, open your CAD software and make the necessary changes. Don't try to fix everything at once — focus on the top 2–3 issues from your test session. Over-scoping your revisions slows you down and makes it harder to isolate what fixed what.
Afternoon (14:00–16:00): Prepare and submit. Export your updated STEP file, upload it to your 3D print service, and place your order with express production. At 3D On Demand, express FDM orders placed by mid-afternoon ship the next business day. SLA and SLS express orders ship within 48 hours.
Overnight: Production. While you sleep, your part is being printed, cleaned, and prepared for shipment. Or if you're using a local 3D printing service with same-day pickup, you might have it on your desk by late afternoon the same day.
Next morning: Repeat. Your new prototype arrives. Start the cycle again.
At this pace, you can complete five design iterations in a single work week. In two weeks, you can go through ten. Compare that to a traditional prototyping workflow where each iteration takes 1–3 weeks, and you might manage three or four iterations before time or budget runs out.
Planning Your Sprint: How Many Iterations Do You Need?
Not every product requires the same number of iterations. But most product development follows a predictable arc with distinct phases, each requiring different types of prototyping.
Phase 1: Concept exploration (2–4 iterations). You're still figuring out the basic form factor, size, and proportions. Prototypes in this phase are rough — FDM in PLA is fine. You're answering questions like: Is this the right size? Does the shape feel natural in the hand? Are the buttons in the right place? Does it look proportional?
At this stage, print fast and cheap. Don't waste time on finish quality or tight tolerances. The goal is to explore options quickly. Some teams print three or four different concepts simultaneously and compare them side by side.
Phase 2: Design refinement (3–5 iterations). You've committed to a direction and now you're dialing in the details. Tolerances, snap-fits, connector openings, mounting features, internal component fit. Switch to SLA for precision or SLS for durability. Each iteration refines the design based on specific, measurable feedback from the previous one.
This is the phase where the 24-hour sprint delivers the most value. Every day you compress from the iteration cycle is a day of actual design improvement that wouldn't have happened in a slower workflow.
Phase 3: Validation (2–3 iterations). Your design is close to final. You're testing for edge cases, durability, thermal performance, user experience. Use SLS or MJF nylon for parts that represent production quality. Run structured testing protocols. At this point, changes between iterations should be small and targeted.
Phase 4: Pre-production (1–2 iterations). Final confirmation before committing to production tooling or a production 3D printing run. Test the exact material, finish, and post-processing that the final product will have. This is your “golden sample.”
In total, a typical product goes through 8–14 prototype iterations from concept to production-ready. At one iteration per week (traditional pace), that's 2–4 months. At one iteration per day (sprint pace), that's 2–3 weeks.
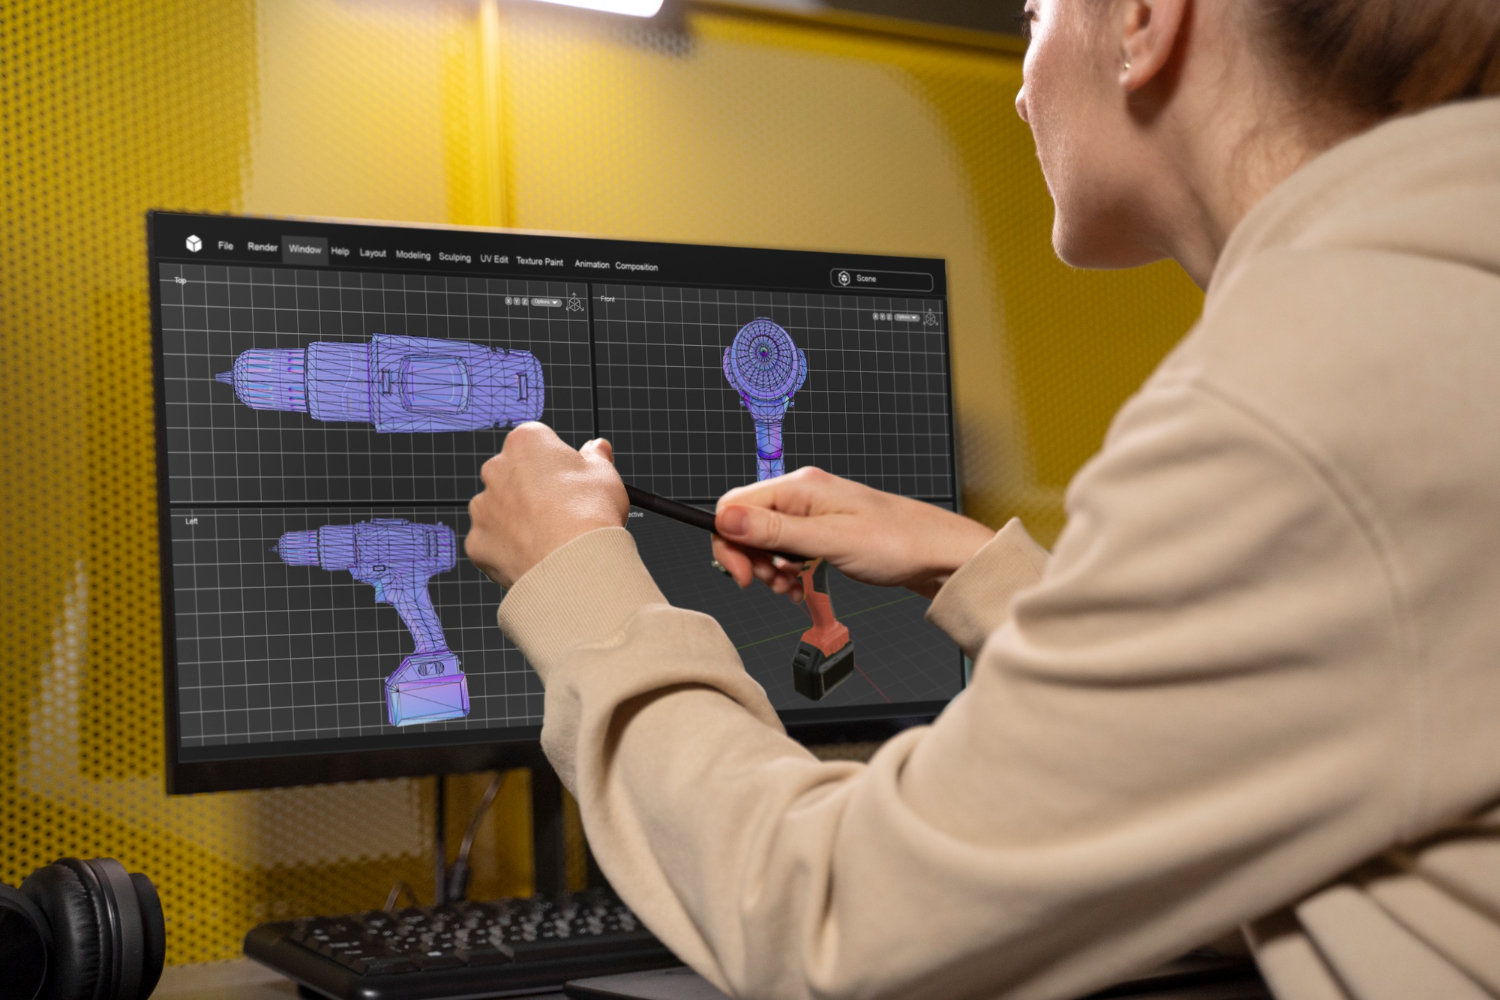
Structuring Your CAD Workflow for Speed
The 24-hour sprint only works if your CAD workflow can keep up. Here are practices that help.
Use parametric modeling. Build your CAD model so that key dimensions — wall thickness, clearances, hole diameters — are driven by parameters you can change in one place. When your fit test reveals that a screw hole needs to be 0.3mm wider, you change one number and the entire model updates. This turns a 2-hour revision into a 5-minute one.
Maintain a revision history. Save each iteration as a separate file with a clear naming convention: ProductName_v01, ProductName_v02, and so on. Attach a brief note to each version describing what changed and why. When you're moving at one iteration per day, it's easy to lose track of what you've already tried.
Separate your components. Design your enclosure, internal mounts, buttons, and other elements as separate bodies or files within an assembly. This way you can revise and reprint only the parts that need changes, not the entire product. If only the top shell needs modification, only reorder the top shell — saving time and cost.
Export STEP files, not just STL. STEP files preserve the exact mathematical geometry of your design. STL files approximate curves with triangles, which can introduce subtle inaccuracies. Most professional 3D print services, including 3D On Demand, accept STEP, STP, STL, OBJ, 3MF, and IGES — but STEP gives you the best results.
Pre-build your next iteration. Before your current prototype arrives, anticipate the most likely changes based on what you already know. If you suspect a tolerance might be tight, prepare a “loose” version in CAD alongside the standard version. When your test confirms the issue, you already have the fix ready to upload.
What to Test at Each Iteration
Don't run the same exhaustive test suite on every prototype. Match your testing depth to your sprint phase.
Concept prototypes (Phase 1): Hold it. Look at it. Compare it to alternatives. Show it to colleagues and get gut reactions. Check that it fits in the intended context — a pocket, a dashboard mount, a bag. Don't measure tolerances or test durability. It's too early and the design will change too much.
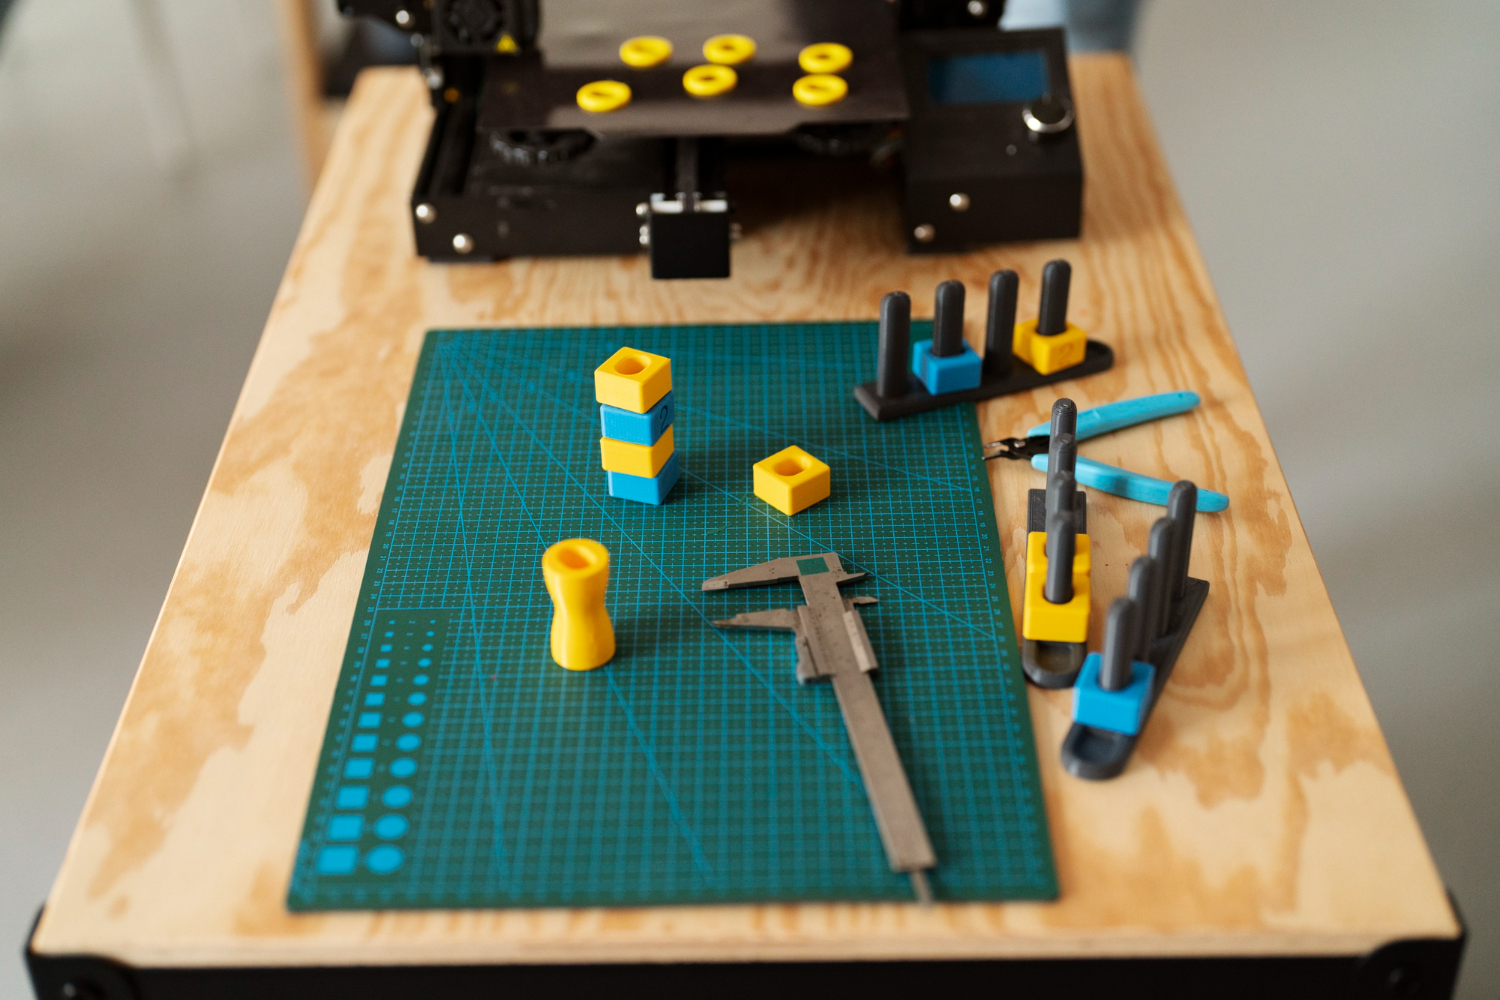
Refinement prototypes (Phase 2): Measure critical dimensions. Test fit with actual internal components. Check snap-fit engagement and disengagement. Verify connector alignment. Test assembly and disassembly sequence. This is where your calipers, test PCBs, and mating parts get heavy use.
Validation prototypes (Phase 3): Run your full testing protocol. Mechanical loads, thermal tests, drop tests, water resistance if applicable, user testing. Document everything quantitatively. This data supports your decision to move to production.
Pre-production prototypes (Phase 4): Verify that the final material and finish meet your quality standards. Test with actual production electronics, not prototyping boards. Confirm that post-processing (painting, labeling, assembly) works as planned.
Managing Costs During a Sprint
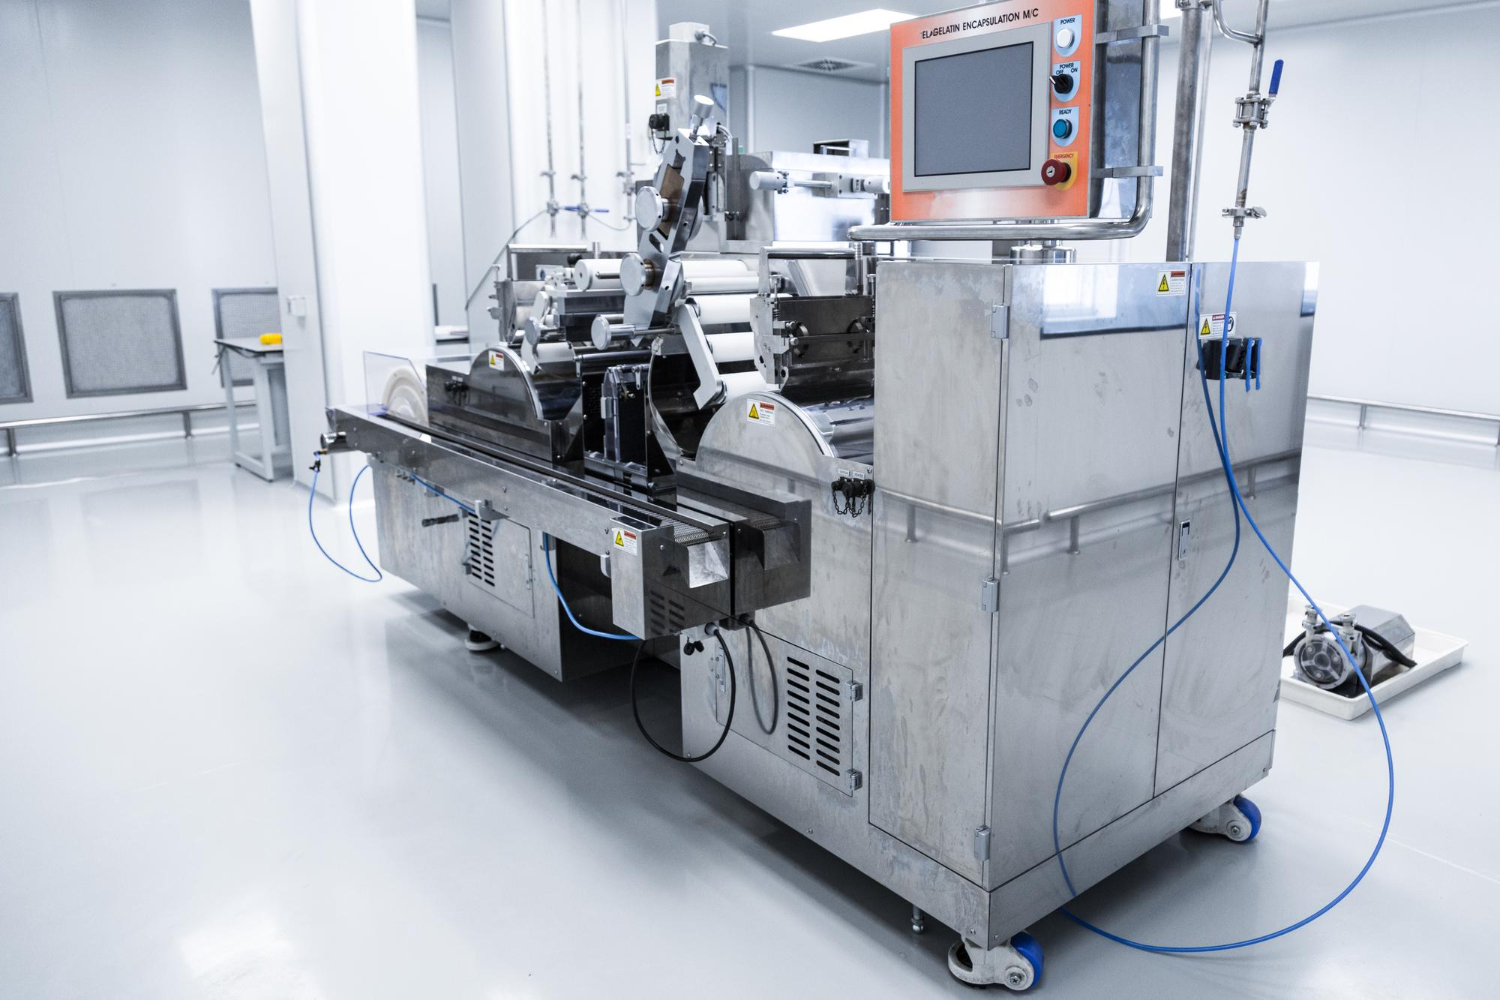
Rapid iteration sounds expensive, but it's surprisingly affordable with on-demand 3D printing because there are no setup costs or tooling fees.
A typical FDM concept prototype costs €10–50. An SLA or SLS refinement prototype costs €30–200 depending on size. Express production adds a premium, but even with express fees, a week of daily iterations in FDM might cost €100–300 total.
Compare that to the cost of discovering a design flaw after you've ordered 1,000 injection-molded units (€5,000–€50,000 in wasted inventory plus the cost of a mold revision). Aggressive prototyping is the cheapest insurance you can buy.
To keep costs down during a sprint, use FDM for as long as possible in the early phases — it's 3–5 times cheaper than SLA or SLS. Only reprint the parts that changed, not the whole assembly. Save express production for when you're blocked without the next iteration. And batch multiple design experiments into a single order — most 3D print services let you combine different parts in one shipment.
When Not to Sprint
The 24-hour design sprint is powerful, but it's not always the right approach.
If you're waiting on other components — custom PCBs, sourced parts, software development — daily mechanical prototyping iterations may outpace your other workstreams. Align your prototyping pace with your slowest dependency.
If changes are purely cosmetic, you might not need physical prototypes for every revision. Color, texture, and finish decisions can sometimes be made from material samples rather than full part reprints.
If the design is nearly final and you're making sub-0.1mm tweaks, the printing tolerance itself might mask the change. At that point, slow down and invest in a single high-quality prototype with thorough testing.
Setting Up Your Sprint Environment
To run daily iteration sprints effectively, you need a few things in place.
A reliable 3D print service with express options. This is non-negotiable. If your service takes 7–10 days per order, daily sprints are impossible. Look for a service with next-day FDM and 48-hour SLA/SLS production. 3D On Demand offers both, with all production in-house for consistent quality and lead times.
A testing station. Dedicate a table with your calipers, test components, weights, and marking tools. Having everything in one place eliminates setup time and keeps your testing consistent between iterations.
A prototype shelf. Keep every iteration, labeled and dated, on a visible shelf. Being able to physically pick up version 1 and compare it to version 6 is incredibly valuable — and impressive to show clients, investors, or teammates.
A structured feedback loop. Use a shared document or spreadsheet to log test results for each iteration. Include the version number, date, what was tested, what passed, what failed, and what CAD changes were made in response. This log is your sprint's memory.
The Competitive Advantage of Speed
Product development speed is a compounding advantage. Teams that iterate faster don't just finish sooner — they finish with better products. Each additional iteration is an opportunity to catch a flaw, improve a feature, or refine a detail.
A team that completes 12 iterations in three weeks produces a fundamentally better product than a team that completes 4 iterations in three months — even if both teams have identical talent, tools, and budgets. The difference is the speed of learning.
On-demand 3D printing is what makes this speed possible. No molds, no tooling, no minimum orders, no multi-week lead times. Just upload, print, test, and improve.
The 24-hour design sprint isn't just a workflow. It's a competitive weapon. And with a professional 3D print on demand service behind you, it's one you can start using this week.

Apr 8, 2026
A structured checklist for testing 3D printed prototypes: visual inspection, fit testing, functional validation, and user testing. Get the most out of every iteration.
Apr 8, 2026
The real economics of moving from 3D printed prototypes to volume production. Cost curves, crossover points, and the bridge manufacturing strategy explained.
.webp)


Copyright © 3D On Demand