Apr 8, 2026
This guide covers everything hardware founders need to know about using on-demand 3D printing to create prototypes for crowdfunding campaigns, investor meetings, and product launches.
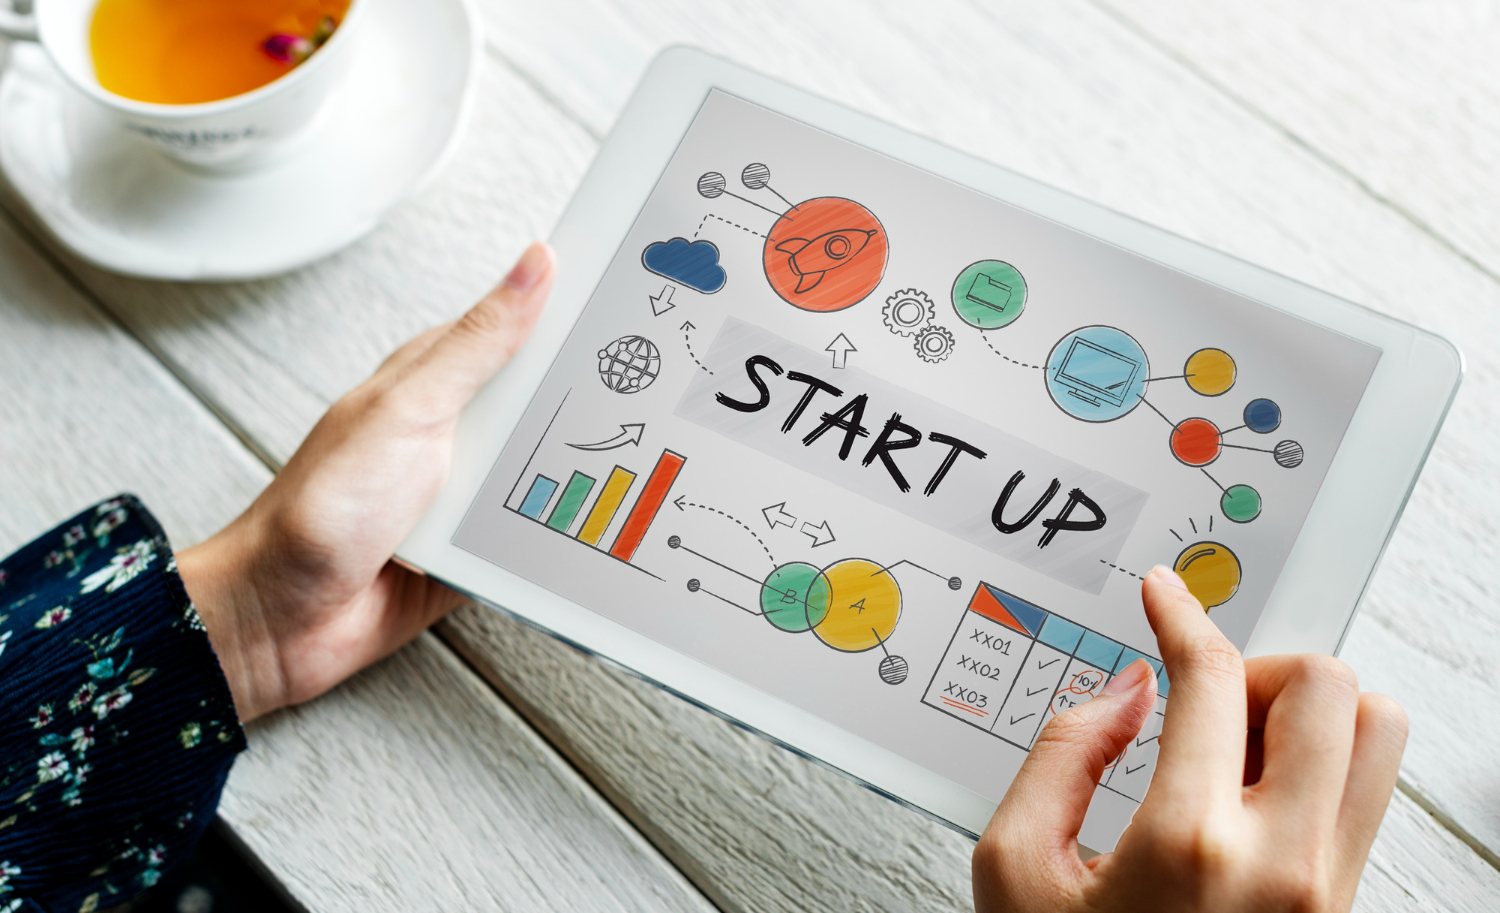
Why Physical Prototypes Win Funding
There's a reason Kickstarter requires a working prototype for hardware projects. Backers and investors need proof that your idea exists beyond a render.
A 3D render looks great on a screen, but it doesn't answer the questions that matter: How does it feel in the hand? How big is it really? Does the button placement make sense? Does it look like a product someone would actually buy?
A physical prototype answers all of these questions in seconds. Investors who can pick up your product and interact with it are dramatically more likely to invest. Kickstarter campaigns with real product photography (not renders) consistently outperform those without. And user testing with a physical prototype reveals design issues that no amount of screen-time will catch.
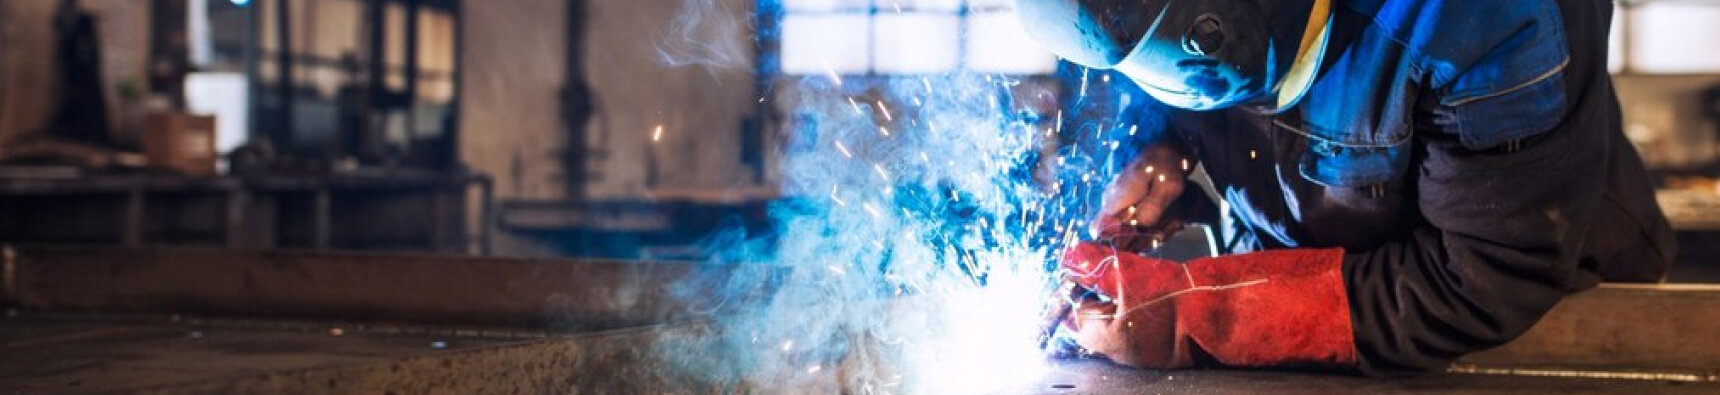
The challenge has always been cost and time. Traditional prototyping — CNC machining, soft tooling, handmade models — takes weeks and costs thousands. That's a problem when you're pre-funding and working against a launch deadline.
This is exactly where a 3D print on demand service changes the game. You can have a presentation-quality prototype in your hands within 3–5 days, for a fraction of the cost of traditional methods.
The Two Prototypes You Need
Most founders make the mistake of thinking they need one prototype. In reality, you need two — and they serve very different purposes.
The presentation prototype is your hero unit. This is the one you photograph, film, bring to meetings, and display at trade shows. It needs to look as close to the final product as possible. Surface finish, color, proportions, and material feel all matter. This prototype sells the dream.
The functional prototype proves the concept works. Internal components are mounted, electronics are connected, and the product does what you say it does. It doesn't need to be pretty — it needs to work. This is the one you demo live, show in your Kickstarter video, and use for user testing.
Sometimes these are the same physical object. Often, they're not. And that's fine. With an on-demand 3D print service, producing two different versions of your prototype costs a fraction of what a single traditional prototype would.
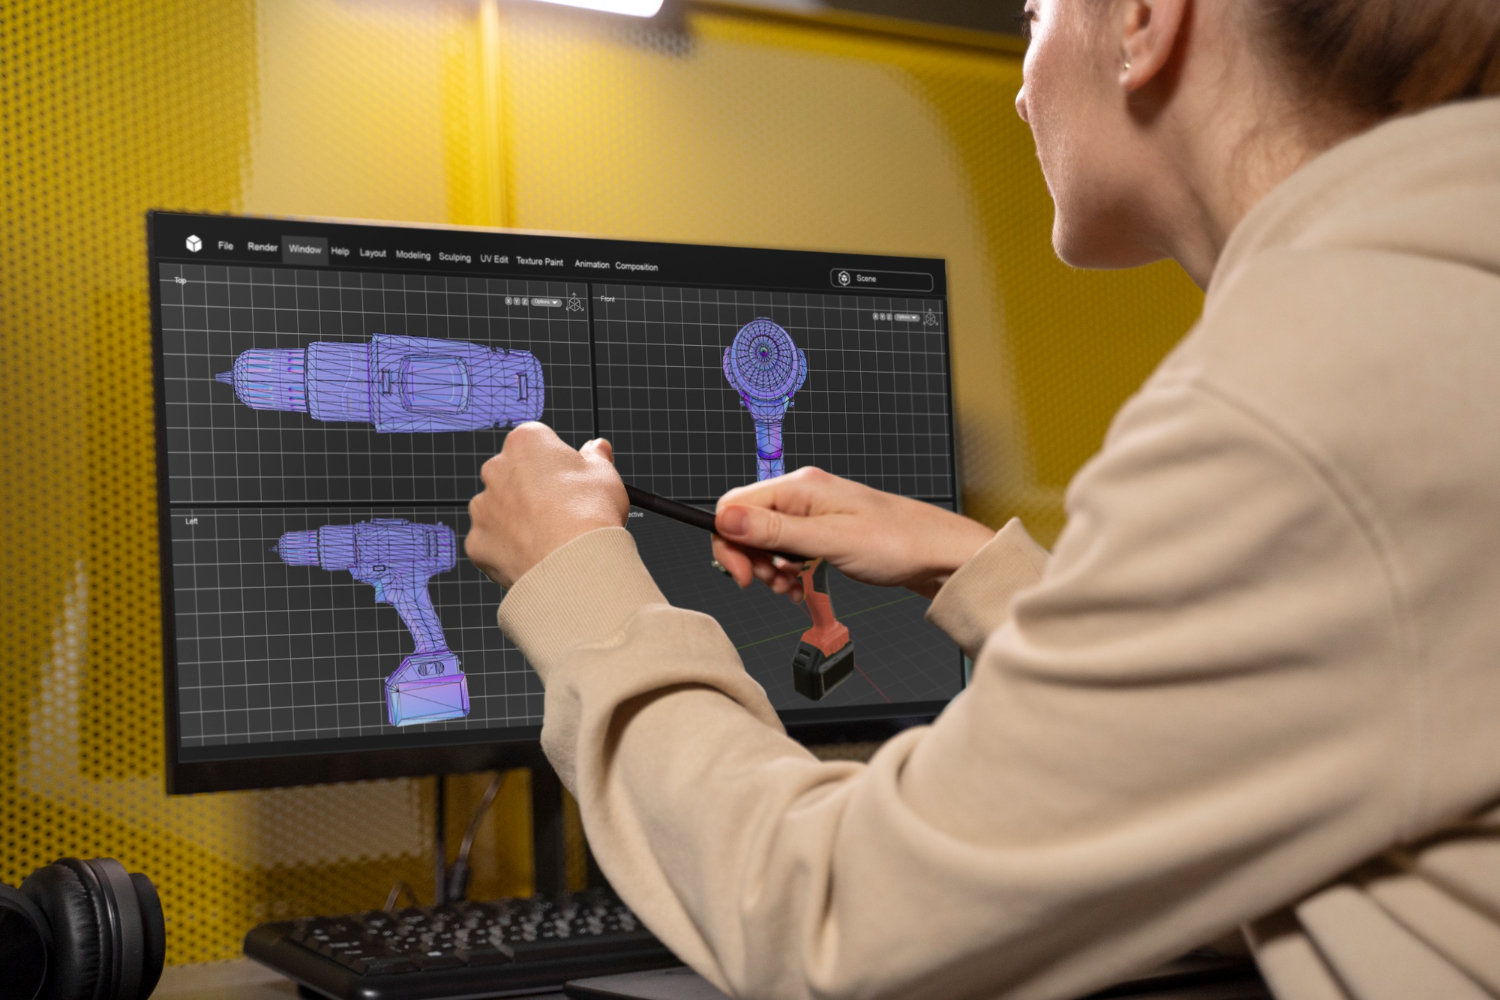
Choosing the Right Technology for Each Prototype
Different 3D printing technologies serve different purposes. A professional 3D printing service gives you access to all of them, so you can match the technology to the goal.
For your presentation prototype, use SLA (Stereolithography). SLA produces parts with smooth surfaces, crisp edges, and fine details. The surface quality is close to injection-molded plastic, especially after light sanding and painting. SLA is the best choice for prototypes that will be photographed or shown to investors who care about aesthetics and perceived quality.
Best materials for presentation prototypes: Standard Resin for smooth, detailed parts with a polished look. Tough Resin for parts that need to withstand handling at multiple meetings without cracking.
For your functional prototype, use SLS or MJF. SLS nylon (PA12) is strong, durable, and heat-resistant. It won't crack if someone drops it during a demo. MJF offers similar properties with slightly finer surface detail. Both produce parts that can house real electronics, support mechanical assemblies, and survive repeated use.
Best materials for functional prototypes: Nylon PA12 for structural parts that need to be strong and heat-resistant. TPU (flexible) for gaskets, grips, or parts that need to flex.
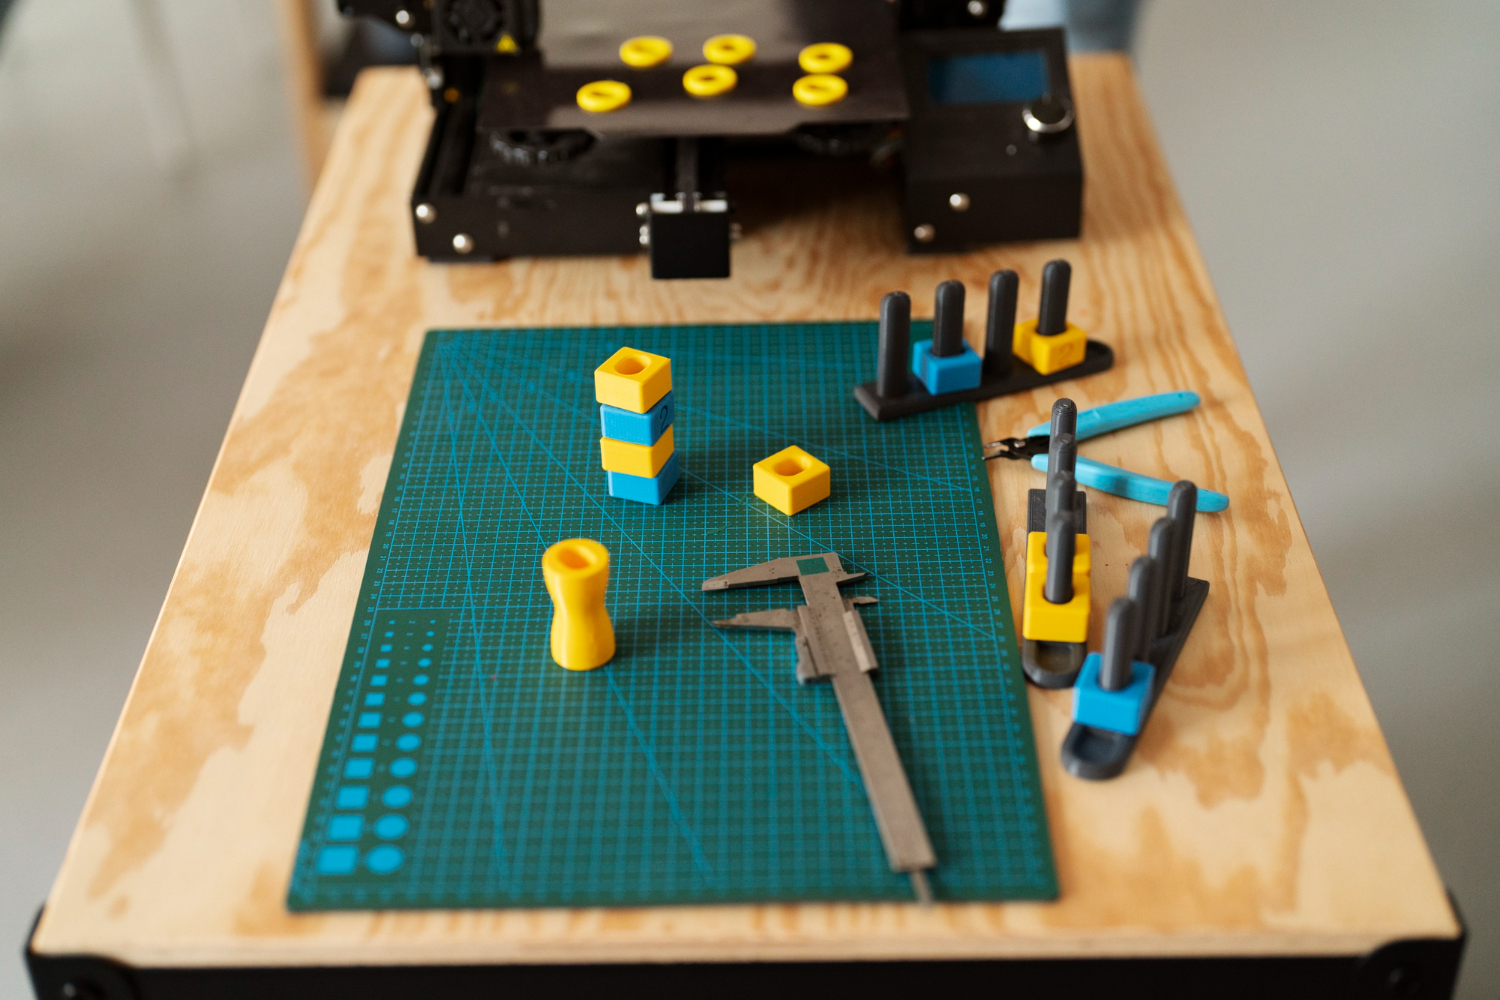
For quick concept checks, use FDM. Before you invest in presentation or functional prototypes, use FDM to verify your basic form factor. FDM parts are rough, but they're fast and cheap — perfect for answering the question "is this the right size and shape?" before committing to higher-quality prints.
Planning Your Prototype Timeline
Timing is critical for a crowdfunding launch or investor meeting. Work backwards from your deadline.
8–10 weeks before launch is when you should start prototyping. This gives you time for three or four iterations — and you will need them. No design is perfect on the first print.
6–8 weeks before launch: order your first FDM concept prototypes. Check size, proportions, button placement, and ergonomics. Make CAD adjustments based on hands-on testing.
4–6 weeks before launch: order your functional prototype in SLS nylon. Install electronics, test basic functionality, and identify any fit issues with internal components. Simultaneously, order your first SLA presentation prototype to start evaluating surface finish and visual design.
2–4 weeks before launch: order your final presentation prototype with post-processing (sanding, painting, finishing). This is your hero unit for photography and video. If you're running a Kickstarter, this is when you do your product photoshoot.
1–2 weeks before launch: order backup presentation prototypes. You'll want at least two identical units — one for photography, one for live demos. Things break, get lost, or get left in taxis.
With 3D print on demand and express production options (24-hour FDM, 48-hour SLS/SLA), you can compress this timeline significantly if needed. But don't leave it to the last week. Give yourself room for at least one round of revisions.
Getting the Perfect Finish for Photography
Campaign photography makes or breaks a crowdfunding project. Your prototype needs to look like a finished product in photos — even if it's clearly a prototype in person.
For SLA prototypes: Sand with 400-grit, apply filler primer (2–3 coats, sanding between coats with 600-grit), then spray paint with your desired color. Finish with a matte or satin clear coat. The result is nearly indistinguishable from injection-molded plastic in photographs.
For SLS prototypes: Dye the parts black (or another dark color) for a uniform base, then apply primer and paint as above. Alternatively, vapor smoothing creates a sealed, slightly glossy surface that photographs well without painting.
General photography tips for 3D printed prototypes: Shoot on a clean white or gradient background. Use soft, diffused lighting to minimize visible texture. Photograph from angles that show the product's best features. Include lifestyle shots with the product in context — in someone's hand, on a desk, in a bag. Avoid extreme close-ups that reveal surface texture unless the texture is intentional.
If your product has a display or LED indicators, consider printing the enclosure in a dark material and adding a transparent or translucent window. SLA Clear Resin can produce transparent parts that you can polish to near-optical clarity.
How Much Does It Cost?
One of the biggest advantages of using a 3D printing service for your crowdfunding prototype is the cost.
A single SLA presentation prototype for a typical consumer product enclosure (roughly smartphone-sized) costs between €30 and €150 depending on size and material. Add €50–100 for professional post-processing (sanding, priming, painting).
A functional SLS prototype of the same size runs €40–200, depending on geometry complexity and material.
An FDM concept model might cost €10–50.
Compare that to CNC machining (€500–2,000+ for a single enclosure) or soft tooling for a small injection molding run (€3,000–10,000+ for the mold alone).
With a 3D print on demand approach, you can produce five iterations of your prototype for less than the cost of a single CNC-machined unit. That means more testing, better design, and a stronger product at launch.
Prototype Materials That Impress Investors
Investors evaluate prototypes on feel as much as function. The material you choose sends a signal about how far along your product development is.
Painted SLA resin says "this is almost a finished product." Smooth, professional, and polished. Best for consumer product pitches where aesthetics drive purchasing decisions.
Black SLS nylon says "this is engineered and functional." The slightly textured surface feels industrial and serious. Best for B2B pitches, hardware tools, or products where durability matters more than aesthetics.
Clear SLA resin says "look at the engineering inside." Transparent enclosures let investors see the internal components and appreciate the complexity of your product. Great for IoT devices or products with interesting internals.
Multi-material prototypes — combining rigid and flexible parts, or matte and glossy finishes — say "we've thought about every detail." An on-demand 3D printing service lets you order different parts in different materials and assemble them into a single, impressive prototype.
Intellectual Property and Confidentiality
Founders are often nervous about sharing their designs with a 3D printing service before filing patents or launching publicly. This is a valid concern.
Look for a service that offers NDA agreements before file upload, secure file storage with access restrictions, and clear data handling policies. At 3D On Demand, we sign NDAs upon request and store all customer files securely with restricted access. Your designs are your business — we just print them.
That said, consider filing a provisional patent before sharing detailed CAD files with any third party. It's affordable, gives you 12 months of "patent pending" protection, and provides peace of mind during the prototyping phase.
From Prototype to Campaign: The Launch Checklist
Before you hit "launch" on your campaign or walk into your investor meeting, make sure you have these prototype-related elements covered.
You need at least two identical presentation prototypes — one primary and one backup. You need a working functional prototype for live demonstrations. You need professional product photography shot with your presentation prototype, including lifestyle and detail shots. You need a product video that shows the real prototype, not just renders. And you need to know your path from prototype to production — investors and backers will ask "how are you going to manufacture this at scale?"
That last point matters more than most founders realize. Showing that you've already been working with a professional 3D printing service that also handles small-batch production demonstrates manufacturing readiness. It tells investors you're not just a designer with a pretty model — you're building a real supply chain.
Ready to Build Your Pitch Prototype?
The difference between a funded project and a passed-over one often comes down to something tangible. Something real. Something an investor can hold.
Upload your CAD file to 3D On Demand and get an instant quote. Our 3D print service offers express 24-hour FDM and 48-hour SLA/SLS production — perfect for tight launch deadlines. Our engineering team can advise on material selection, post-processing, and design optimization to make sure your prototype makes the strongest possible impression.
Your idea deserves to be held, tested, and funded. Let's make it real.
Apr 8, 2026
Design during the day, print overnight, test the next morning. A practical workflow for running rapid prototyping iterations at one per day.
Apr 8, 2026
A structured checklist for testing 3D printed prototypes: visual inspection, fit testing, functional validation, and user testing. Get the most out of every iteration.
.webp)


Copyright © 3D On Demand